How to trim video using FFmpeg (+video tutorial)

Trimming videos in FFmpeg is one of the basic functions of FFmpeg, but it can save you hours and hours of work.
Even though i'm an ex-motion designer, and i open After Effects or Premiere Pro for even the smallest video edits - trimming videos with FFmpeg is 100x better. There's no rendering, and there's no quality loss.
This is especially true if you're dealing with 10s or 100s of videos that need trimming. Using FFmpeg is just the fastest and easiest way to trim videos.
How to trim videos with FFmpeg
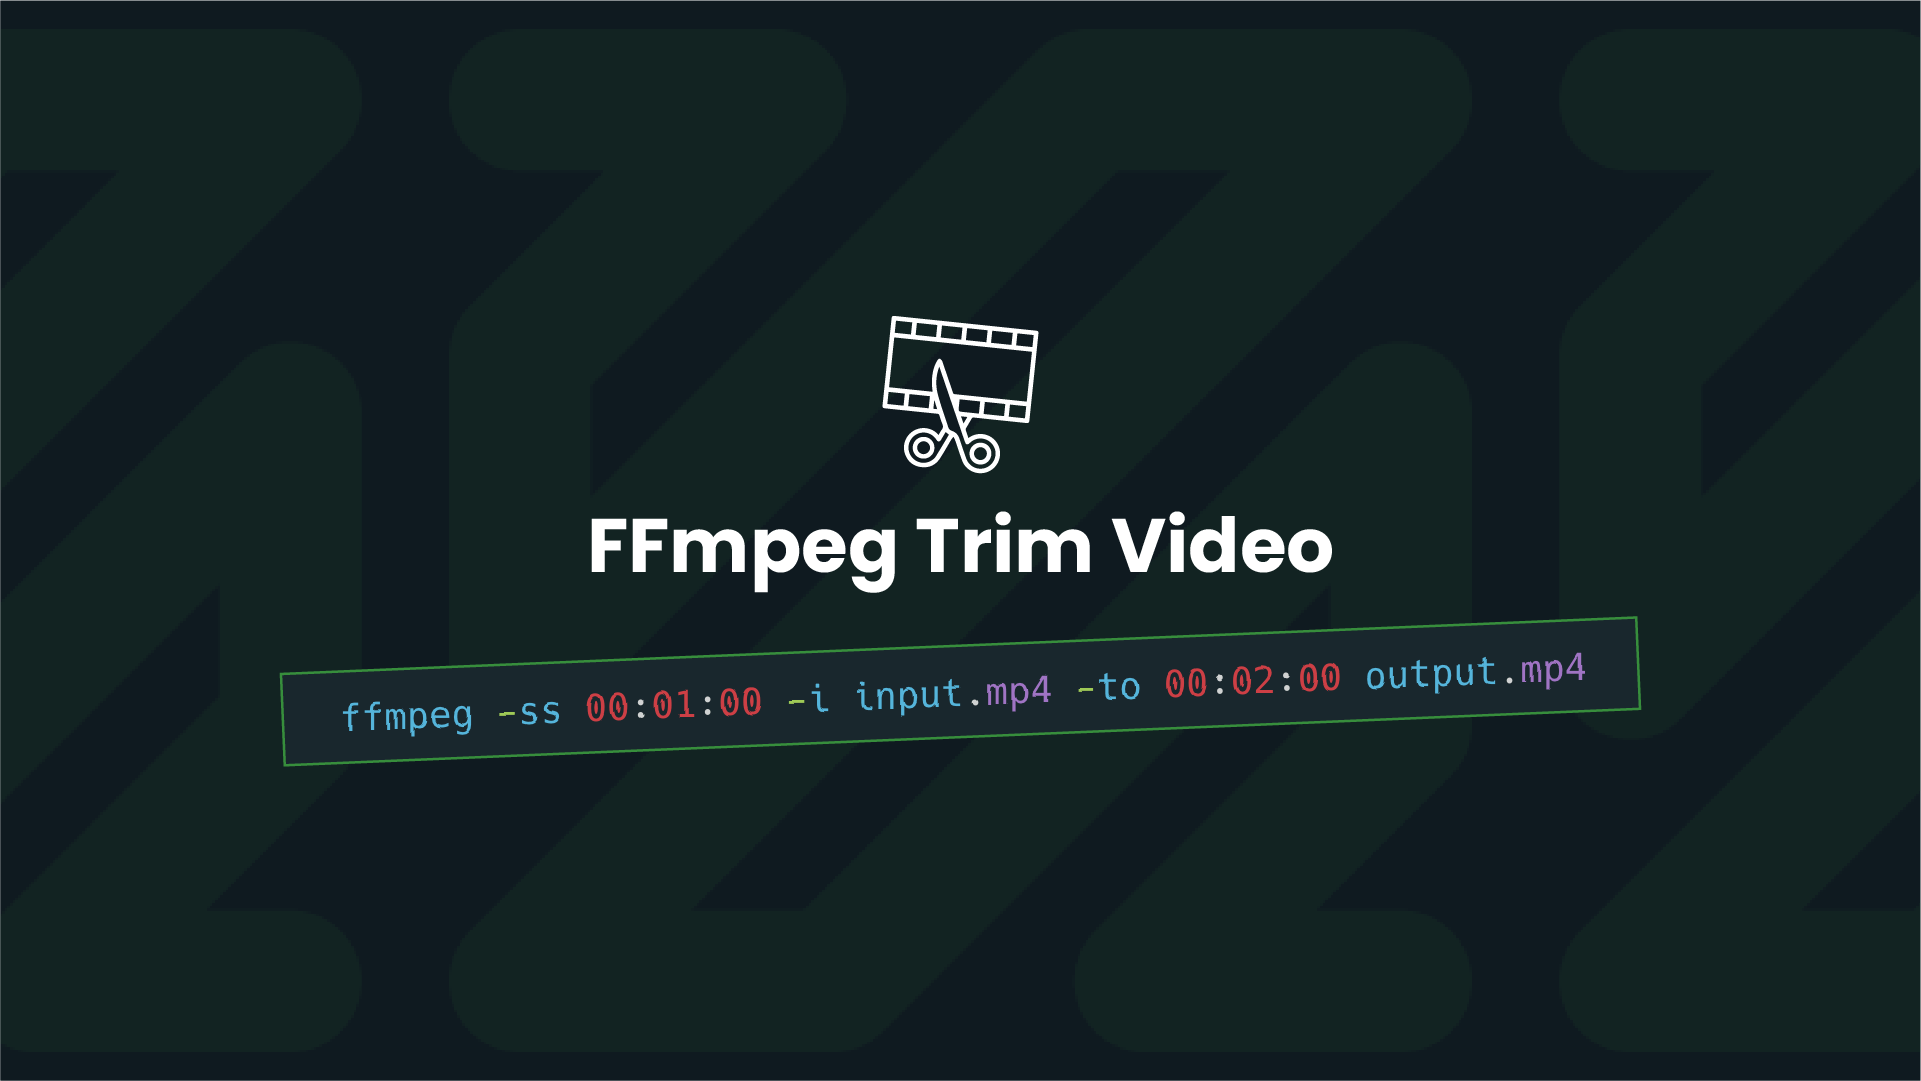
The simplest way to trim videos with FFmpeg is with this command:

Let’s deconstruct this command.
Right after FFmpeg, you’ve got your -ss parameter. This will tell FFmpeg to seek the 5th second of your video. The timecode format is HH:MM:SS.ms, or you can use plain seconds.
-to 00:00:10 = -t 10
After that you’ve got your input file, and then -to parameter. This parameter will reference the length of the cut. So basically you’ll end up with a 15-second video that starts at the 5th second of the input video.
Alternatively, you can use -t instead of -to. The -to parameter will tell FFmpeg what is the out-point of our trim, and the -t parameter will tell what’s the duration of the cut.

So -t 30 will cut 30 seconds from the in-point (00:00:05).
If you simply copy and paste this command above, FFmpeg will also encode the video. This will make the file size smaller, but it will also make the operation longer, because it will have to go frame-by-frame.
If you want to trim videos fast, you can use the codec copy parameter.

This means that FFmpeg will skip encoding, and it will use the same stream of video/audio and just cut the video as is.
FFmpeg trim video + effects
If you want to add effects to your video and also trim them, that’s also quite easy. You just have to add the -vf parameter, as you would normally and it everything will work as it should. However, there are a few things i should highlight.
If you’re using effects that depend on the timestamps, for example subtitles you’ll have to use output seeking. Basically, FFmpeg has two options for trimming:
- Input seeking
- Output seeking
There are two key differences in these two methods.
- Input seeking will trim the input video, and it will reset the timestamps. Output seeking will trim the output video and it will leave the timestamps as-is.
- When you use input seeking, -to and -t do the same thing. Because input seeking resets time stamps -to and -t have the same value. In the case of output seeking, -to will actually reference the trim out-point, and not the duration of the cut portion.
Going back to our subtitles, here’s an example. Let’s say you want to cut your video from 00:01:00 to 00:05:00. If you use input seeking, that will trim 5 minutes of video starting at minute 1. Once you add your subs, they will start from 00:00:00, because that’s what the timecode says, but in reality your video starts from 00:01:00 because you trimmed the first minute.
If you use output seeking, it will leave timestamps as they were in the input video. So, in the example above, the video will begin at 00:01:00, and the timestamp will be the same. This means that your captions will align even though you trimmed your video.
In my research, i found a lot of resources that say that you can use input seeking and -copyts, but it didn’t work in my case. The most reliable method was just to trim video using output seeking.
If you want to use other kinds of effects, for example fade in - you should use input seeking. FFmpeg will trim the video, reset the timestamp and apply the effect to the correct time stamp. Since output seeking leaves timestamps as in the input video, this will skew your final result.
I was banging my head against the wall for 15 minutes until i figured this out. Pay attention.
Are you interested in video automation?
Given that you’re looking at how to trim videos with FFmpeg, you’re probably interested in video automation. In that case, you’ll love Plainly. It’s a tool we created, and it helps you to create 1000s of videos from one video template automatically. Create a template, connect it with a data source, which can be anything from a spreadsheet to an external API, and automatically create as many videos as you need.
Book a 15-min demo here, and i’ll show you around.


